Restricting Remote Desktop Access To Specific IP Addresses
Since most Windows Servers worldwide use Remote Desktop, it is a favored target for hacker / automated bots attacks: It is not uncommon for bots to attack RDP port of a Windows Server within minutes of a Windows Server coming online for the first time.
You can protect your Windows Server from such attacks by changing the Remote Desktop Port and / or limiting access to the Remote Desktop Services to specific IP addresses (for example, from a VPN connection). In this tutorial we explain how to do this.
Step 1
Connect to your Windows Server via Remote Desktop or the VPS console.
Step 2
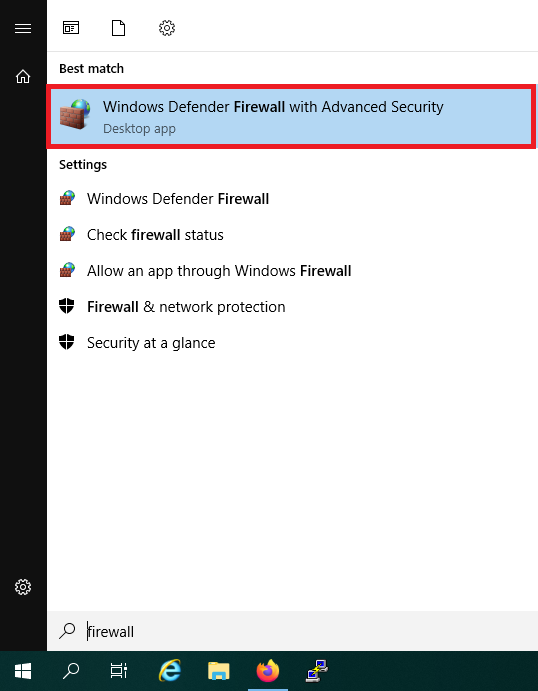
Click the Windows Start button, type ‘firewall‘ and click ‘Windows Defender Firewall with Advanced Security‘ in the search results.
Step 3
Click left on ‘Inbound Rules‘ and scroll down to ‘Remote Desktop‘. Then double click on the line ‘Remote Desktop – User Mode (TCP-In)‘. Have you changed the RDP port? Then double-click the name of the firewall rule you specified in step 11 above.

Step 4
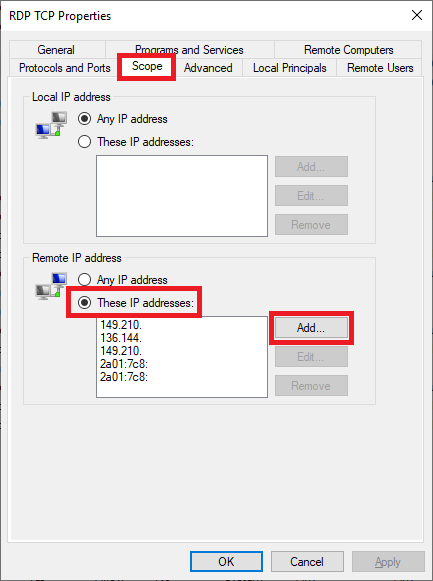
Select the ‘Scope‘ tab, ‘These IP addresses‘ and click ‘Add‘.
Step 5
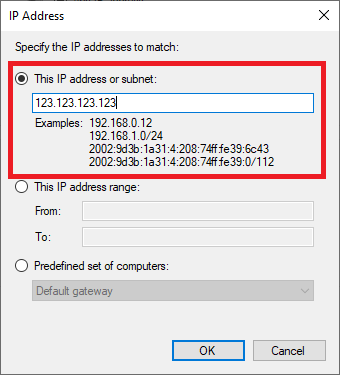
Enter the IP address from which you want to allow RDP connections (this can be a range that you define via a subnet) and click ‘Ok‘.
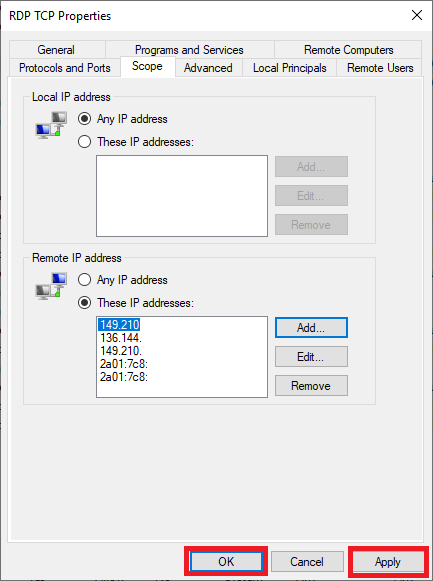
Step 6
Finally click ‘Apply‘ and ‘Ok‘ to implement the changes. Repeat steps 3 through 6, but this time in step 3 open the line for ‘Remote Desktop – User Mode (UDP-In)‘.